How to configure dual screens with a laptop and external monitor
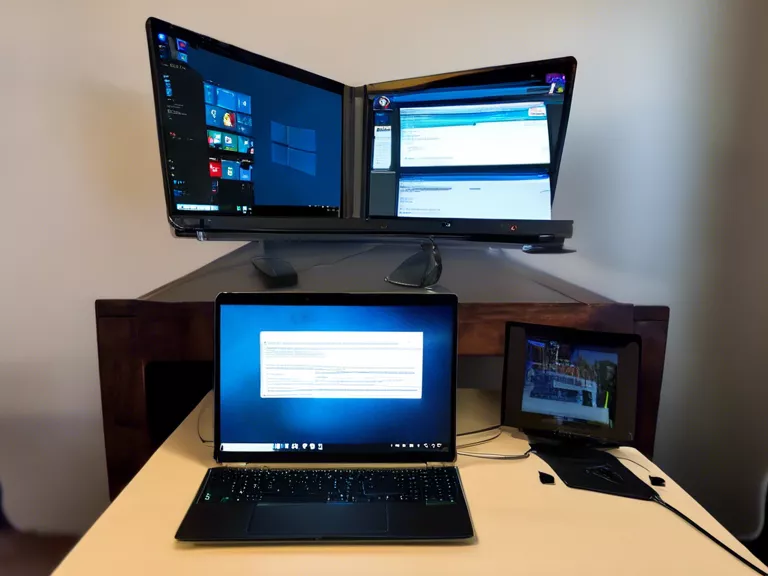
If you want to increase your productivity and viewing experience, setting up dual screens with your laptop and an external monitor is the way to go. Whether you're working on multiple projects simultaneously or simply want a larger display area, this setup can greatly enhance your workflow. In this guide, we'll walk you through the simple steps to configure dual screens with a laptop and an external monitor.
Step 1: Connect the external monitor to your laptop
The first step is to physically connect the external monitor to your laptop using the appropriate video cable (HDMI, DisplayPort, VGA, etc.). Make sure both devices are powered on.
Step 2: Access display settings
Once the external monitor is connected, right-click on your desktop and select "Display settings" or "Screen resolution" depending on your operating system.
Step 3: Configure display settings
In the display settings menu, you should see both your laptop screen and the external monitor listed. You can choose to duplicate the displays, extend them, or use only one of them. Adjust the resolution and orientation as needed.
Step 4: Arrange the screens
If you choose to extend your displays, you may need to arrange them in a certain way. Drag and drop the display icons to match the physical setup of your screens. This will ensure a smooth transition between the two screens.
Step 5: Apply settings and enjoy dual screens
Once you have configured the display settings to your liking, apply the changes. You should now see your desktop extended across both screens, giving you more screen real estate to work with.
By following these simple steps, you can easily configure dual screens with your laptop and an external monitor. This setup is perfect for multitasking, gaming, watching movies, or simply enjoying a larger display area.


