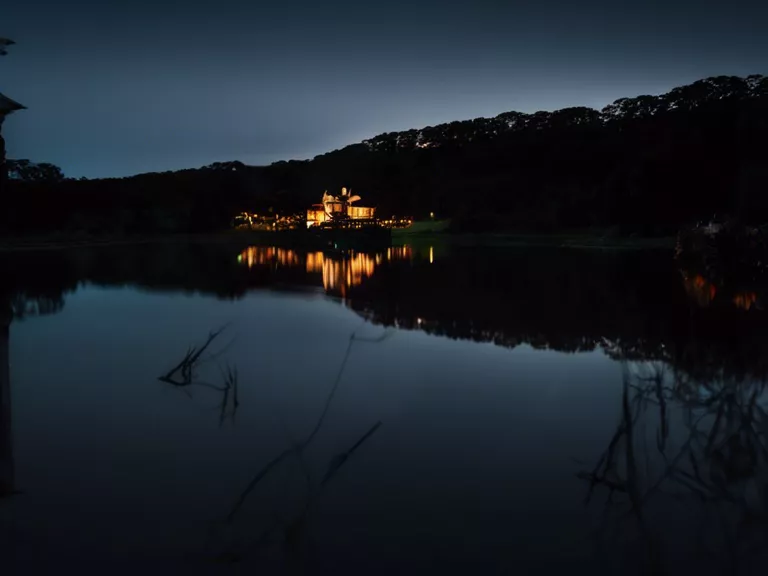
How to Master Low Light Photography Without a Tripod
Taking photos in low light situations can be challenging, especially when you don't have a tripod. However, with the right techniques and settings, you can still capture stunning images without the need for additional equipment. Here are some tips to help you master low light photography without a tripod:
Use a Wide Aperture: When shooting in low light, a wider aperture will allow more light to enter the camera. Set your aperture to a low f-stop number (e.g., f/2.8 or lower) to let in as much light as possible.
Increase ISO: Boosting your camera's ISO sensitivity will make it more light-sensitive, allowing you to capture brighter images in low light conditions. Just be cautious as higher ISO levels can introduce noise into your photos.
Steady Your Camera: While you may not have a tripod, you can still steady your camera by bracing it against a stable surface or using your body as support. Lean against a wall or tree to minimize camera shake and ensure sharp images.
Use Image Stabilization: If your camera or lens has image stabilization (IS), be sure to turn it on. This feature helps reduce blur caused by hand movements, allowing you to capture sharp photos in low light.
Shoot in RAW: When shooting in challenging lighting conditions, capturing images in RAW format gives you more flexibility in post-processing. RAW files retain more detail and allow you to adjust exposure and white balance without sacrificing image quality.
By following these tips and practicing frequently, you can improve your low light photography skills and capture stunning images even without a tripod. Experiment with different techniques and settings to find what works best for you and enhance your photography repertoire.